Learning how to unplug car battery safely is a vital skill for every modern driver. By following the correct sequence of disconnecting the negative terminal first, you can prevent dangerous electrical sparks and protect your vehicle’s sensitive electronic systems.
Whether you are preparing your vehicle for long-term storage or performing a routine DIY repair, knowing how to unplug car battery is one of the most useful skills you can develop. In 2026, our vehicles are more tech-heavy than ever.
From advanced driver-assistance systems to complex infotainment setups, modern cars rely heavily on a stable electrical current. Because of this, it is crucial to handle your battery with care to avoid triggering error codes or causing electrical damage.
Many drivers feel nervous about popping the hood and touching the battery terminals. They worry about sparks, shocks, or damaging the car’s computer. The good news is that as long as you follow the industry-standard sequence, the process is very safe and straightforward. This guide will walk you through everything you need to know, from the tools you need to the exact steps required to disconnect power without a hitch.
Key Takeaways
- Safety First: Always disconnect the negative (black/-) terminal before the positive (red/+) terminal to avoid short circuits.
- Tool Necessity: Use an insulated wrench to prevent accidental contact with metal parts of the vehicle frame.
- Cleanliness Matters: Inspect battery terminals for corrosion and clean them with a wire brush for better conductivity.
- Memory Savers: Use a memory saver device if you want to keep your radio presets and ECU settings during the process.
- Proper Storage: Store disconnected batteries in a cool, dry place and use a trickle charger if the car will sit for months.
- Eye Protection: Always wear safety glasses, as car batteries contain sulfuric acid that can cause skin and eye irritation.
The Essential Tools You Will Need
Before you even reach for the hood latch, you need to gather the right equipment. Using the wrong tools is the number one cause of accidents during this procedure. You want to make sure you have everything laid out on a clean workbench or a soft cloth next to the vehicle.
Recommended Gear
At a minimum, you should have an insulated wrench or a dedicated battery terminal wrench. Most cars use a 10mm nut for the battery clamps, but it is always smart to have an adjustable wrench as a backup. You should also wear a pair of safety glasses and heavy-duty work gloves.
Car batteries contain acid, and even a tiny leak can be harmful to your skin or eyes. If you are working in a dimly lit garage, grab a headlamp so you can see exactly where your wrench is going.
Optional But Helpful Accessories
If you want to keep your radio presets, seat memory, and engine computer settings intact, consider buying a “memory saver” or an OBD-II memory backup tool. These devices plug into your car’s diagnostic port and provide a small amount of power to keep the systems alive while the main battery is disconnected. It is a fantastic quality-of-life upgrade for the modern vehicle owner.
Step-by-Step: The Correct Sequence
When someone asks how to unplug car battery units, the answer always starts with the negative terminal. This is the golden rule of automotive electrical work. When you disconnect the negative (black/-) cable first, you complete the circuit in a way that prevents the tool from accidentally creating a “live” path to the metal frame of the car.
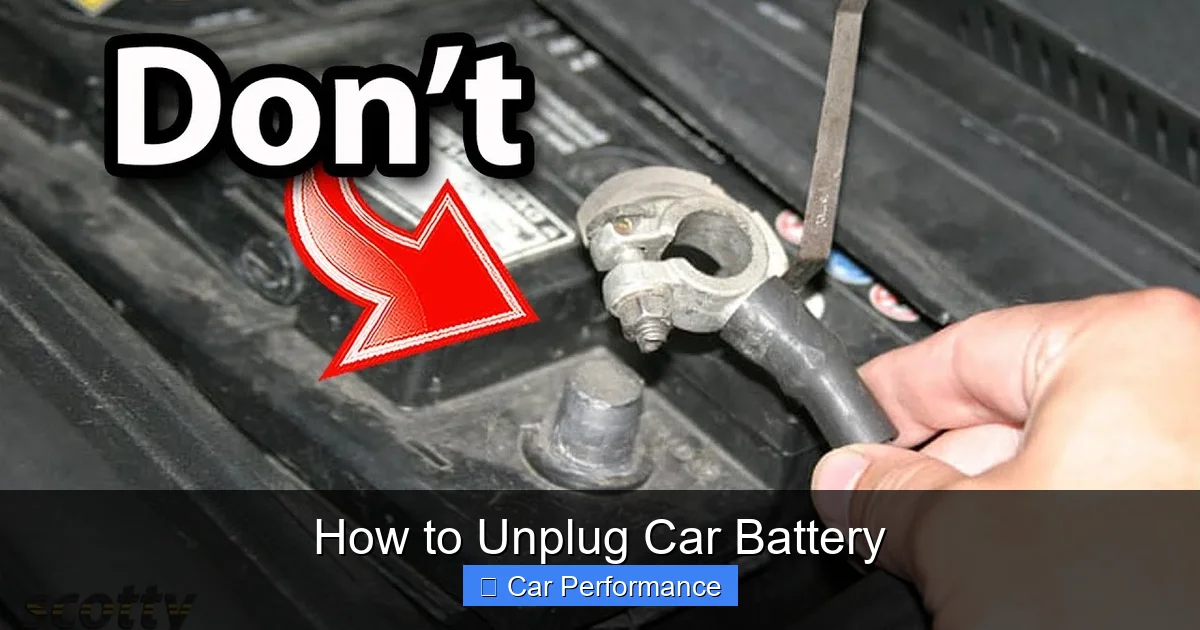
Visual guide about How to Unplug Car Battery
Image source: i.ytimg.com
Disconnecting the Negative Terminal
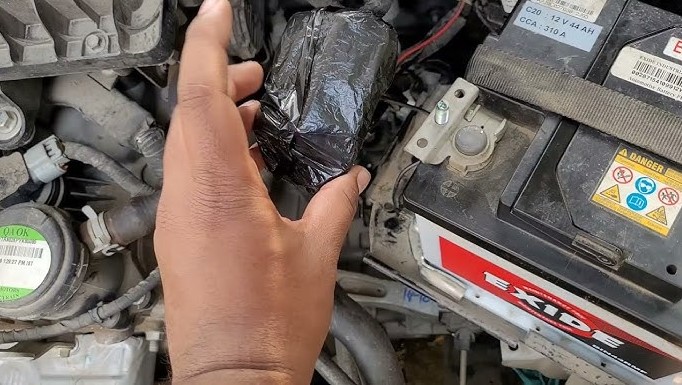
Locate the negative terminal, which is almost always marked with a minus (-) sign and often features a black cable. Loosen the nut on the clamp just enough so that you can wiggle it off the post. Do not force it by prying it hard, as you could damage the lead post of the battery. Once the cable is loose, pull it off and tuck it to the side so it cannot accidentally touch the battery post again while you work.
Moving to the Positive Terminal
Once the negative side is safely detached, you can move on to the positive (red/+) terminal. Because the negative side is already gone, the electrical path is broken, meaning you can safely touch the positive terminal with your wrench.
Again, loosen the nut, remove the cable, and push it aside. It is good practice to wrap both disconnected cable ends in a clean shop rag to ensure they don’t shift back onto the terminals while you are working in the engine bay.
Common Challenges and How to Solve Them
Sometimes, things do not go as smoothly as expected. You might encounter stubborn corrosion that acts like glue on the terminals. This white or blue crusty material is a byproduct of the chemical reaction within the battery. If you see it, do not panic; it is a normal part of battery aging.
Dealing with Battery Corrosion
If the clamps are stuck due to corrosion, use a mixture of baking soda and water. Create a thick paste and apply it to the terminals. The bubbling action will help neutralize the acidic crust. After letting it sit for a few minutes, take a wire brush and scrub the terminal and the inside of the cable clamp until they are shiny and clean. Wipe away any remaining residue with a damp cloth and dry everything thoroughly before reconnecting.
Stuck Clamps
If the clamp is physically stuck, you might need a small battery terminal puller tool. This is an inexpensive device that grips the clamp and pushes against the center of the post, pulling it up evenly. Avoid using a flathead screwdriver as a pry bar, as you risk cracking the top of the battery case, which can lead to acid leaks.
Maintaining Battery Health During Storage
In 2026, many of us have multiple vehicles, or we may work remotely, leaving our cars parked for long periods. If you know you won’t be driving for more than a few weeks, disconnecting the battery is a smart way to prevent it from draining. Modern cars have “parasitic loads”—small draws of power for security systems and clock displays—that will kill a battery in a surprisingly short time.
Using a Trickle Charger
If you have access to a power outlet, a battery tender or trickle charger is better than simply disconnecting the battery. These devices monitor the voltage and keep the battery at an optimal charge without overcharging it. If you choose to disconnect instead, store the battery in a cool, dry place away from direct sunlight. Extreme heat or cold can drastically shorten the lifespan of the internal lead plates.
Reconnecting the Battery
Once you are ready to reconnect, you must follow the reverse order of the removal process. Always, always connect the positive (red/+) cable first, followed by the negative (black/-) cable. This sequence prevents the same accidental shorts we avoided during the removal.
Ensure the clamps are pushed all the way down onto the battery posts before tightening the nuts. Give them a firm wiggle once tightened to make sure they do not move; a loose connection is the most common cause of “no-start” issues.
Post-Installation Checks
After reconnecting, start your engine and let it idle for a few minutes. Check your dashboard for any warning lights, such as the check engine light or battery symbol. In some cases, the computer might need a few miles of driving to “relearn” its idle settings after losing power. If you used a memory saver, you likely won’t notice any changes, and your radio and climate settings should be exactly where you left them.
Final Thoughts on Battery Safety
Learning how to unplug car battery systems is an empowering experience for any car owner. It saves you a trip to the mechanic for simple tasks like cleaning terminals or changing a battery.
Remember that your battery is a chemical device that stores significant power; treat it with the respect it deserves, wear your safety gear, and never rush the process. With these tips, you will be able to handle your vehicle’s power system with the confidence of a pro. Stay safe and enjoy the satisfaction of maintaining your own vehicle in 2026 and beyond.
Frequently Asked Questions
What happens if I disconnect the battery while the engine is running?
You should never disconnect the battery while the engine is running. Doing so can cause a massive voltage spike that may destroy your car’s alternator and sensitive electronic control units.
Will I lose my radio settings if I disconnect the battery?
Yes, in most older vehicles, the radio presets and clock will reset. However, you can prevent this by using an OBD-II memory saver device during the disconnection process.
How do I know if my battery is low or dead?
The most common signs include a slow-cranking engine when you turn the key, dim headlights, or the battery indicator light appearing on your dashboard. You can also use a multimeter to check if the voltage is below 12.4 volts while the car is off.
Can I use a metal tool to clean the battery terminals?
You can use a steel wire brush, but be extremely careful not to bridge the gap between the positive and negative terminals while cleaning. Always ensure both cables are fully disconnected before beginning any aggressive scrubbing.
How often should I clean my battery terminals?
It is a good habit to inspect your battery terminals for corrosion every time you check your oil, usually every 5,000 miles. If you notice white or blue powder buildup, clean it immediately to prevent connection issues.
Is it dangerous to touch the battery posts with my bare hands?
Touching the posts is generally safe if the engine is off and the battery is not leaking, but it is not recommended due to lead content and potential acid residue. Always wear gloves to protect your skin from chemicals and to maintain a better grip on your tools.